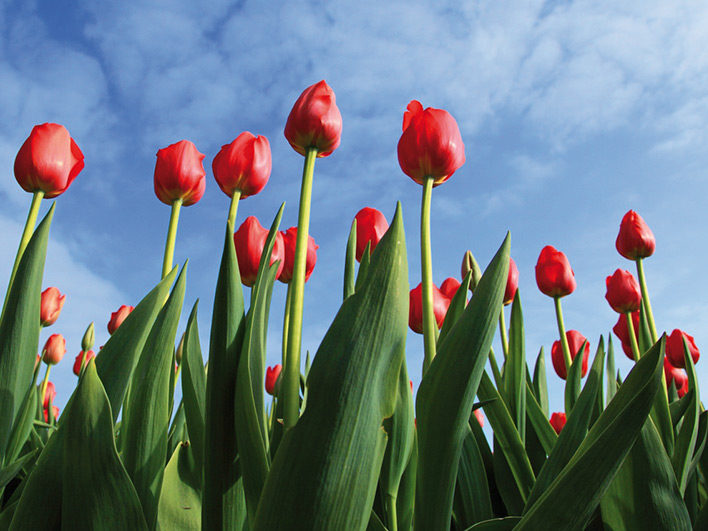
It’s all about the bulbs baby!

The autumn and winter months may seem somewhat dismal but there are things you can do now to make the future bright and happy.
And that, my friends, comes in the shape of a bulb. Natures amazing packets of magic that never fail to deliver. Even if you don’t really know what you’re doing with them!
But the best thing about gardening is in the experimentation. You can’t really get it wrong as nature has a funny way of intervening and sorting out your failures. Have a go at planting bulbs in pots. You can go for the traditional tulips, crocuses and daffodils and pop them into smaller containers inside. This will give you a sneak preview of spring in January if you keep them inside.
Look at planting hyacinths and amaryllis — you can easily obtain these bulbs in most garden centres and hardware shops — and because these bulbs have been through a series of cold treatments the growing process has already been triggered and you will be blessed with stunning blooms over the Christmas period.
Do remember, though, on planting these, that they get very top heavy so pick a pot to suit. The last thing you’ll want is for your efforts to come cascading down in a pile of compost. You can ‘pretty up’ your container with a top layer of grass or moss.
So as well as your indoor bulbs, have a go at laying some out in your main garden. They will survive winter in the ground and in fact need the cold to perform at their best. It’s best to plant out your bulbs reasonably quickly after purchase but if you do need to store them for a while make sure it’s in a cool place. You can pop them into a container and refrigerate them for up to 8–10 weeks.
November Tips:
01. Make sure that you know where you want to plant the bulbs. Think about how they may look when they finally emerge. Do you want uniform colour? Do you want a more informal arrangement?
02. Prepare the soil. It should be loose & well-drained for your bulbs to perform their best. It’s a good idea to mix in some organic material like compost or peat moss. In fact you can purchases special bulb fertiliser if you’re not sure what you’re doing & at least this way you maximise the chances of getting the right mix, if you’re not overly experienced.
03. Planting depth is important. Check the packet if you’re not sure & this will tell you what you need to do. Be aware that planting bulbs at the correct depth helps them start to grow at the right time. As a rule of thumb you plant two to three times as deep as the bulb is tall, but check the package instructions for confirmation.
04. Planting too deep will produce late blooms or no blooms at all. Shallow planting can subject tender, new growth to late-season cold weather. Get your hole ready & pop in the bulb nose up (or roots down). Cover it over with soil & then add a small-mesh hardware cloth if you are concerned that small animals may appear to dig up your investment!
05. Take out your trusty watering can & give those bulbs a good drink.
06. Patience is a virtue. Your excitement needs to be held back a little until the sun starts to shine & you see the first little shoots appearing.
Annie Gardner
Back to Readers CornerWe know our patients read the Village Directory, their feedback tells us that many use it as a valuable reference point for all local services and phone numbers as well as a great monthly read. We have found it invaluable in ensuring our name is seen — Kathryn LowryDavies & Lowry Optometrists